Well it turns out some of you daring bakers want to make this yourselves. Yeah you! I cant wait to see and read all about it… send me links girls! (and boys… if there are any boys)
Well. In order for me to do a tutorial I had to make another one. So, forgive the less then stellar decorations, but here is our 'tutorial' heart cake.
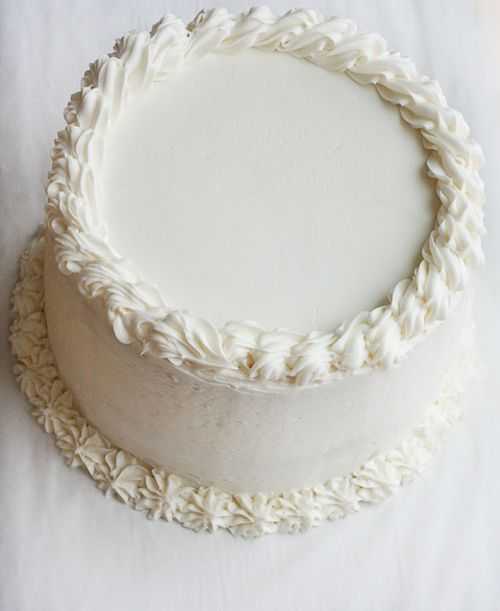
But you didnt come to see the outside right?
Here goes.
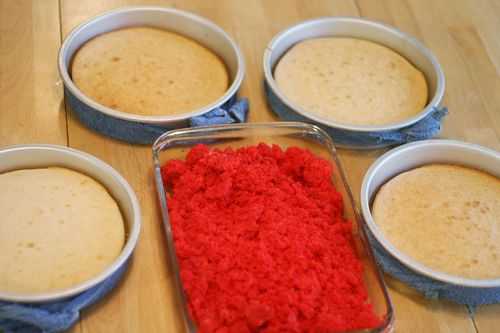
Start out by making four eight inch pans of white cake.
Make one 9×13 (you can do whatever shape and size you want) pan of red velvet cake.
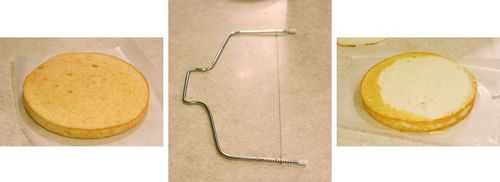
First I need to level each cake.
I use this handy dandy leveling cake thingy I got at Walmart for a few bucks.
Remember to do this for all four white cakes.
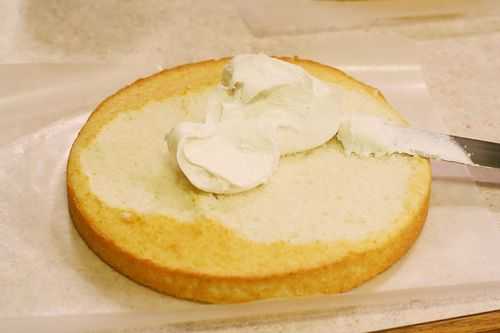
Add about 1/2 cup to 1 cup frosting and then put one layer on top. You want two separate two layer cakes at this point.
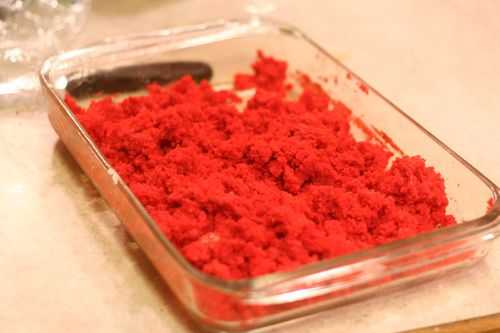
For the red velvet cake I just ran my fork through it to break it up. Then I added about a cup of frosting and combined well.
NOW! I usually like to freeze the cakes for at least a couple hours. If you cant freeze them, at least try and pop them in the fridge for a bit!
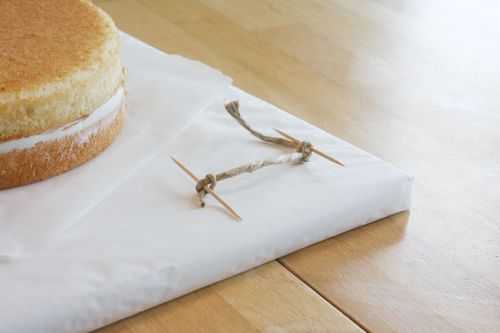
I know this looks pretty weird (maybe cause it is) but this is what I am going to use to make sure I have some uniformity in the heart design. Its just two toothpicks and a piece of twine.
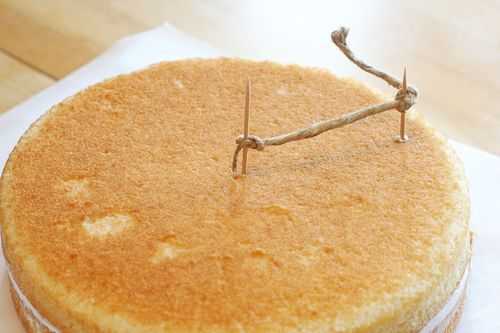
Place one toothpick in the center of the cake, then (holding firmly) drag the outside toothpick around the cake and make a circle.
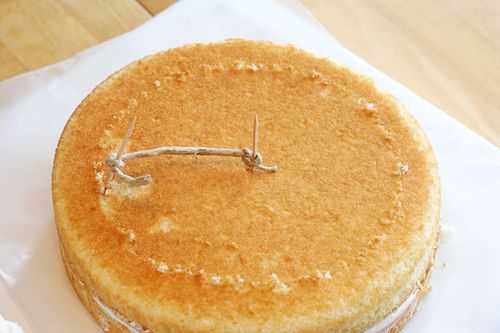
Like this! Now I have a rough guide line of where I am going to being carving. Do this to both cakes. (or, if you are a good drawer, just take a knife and cut a shallow line around the perimeter.)
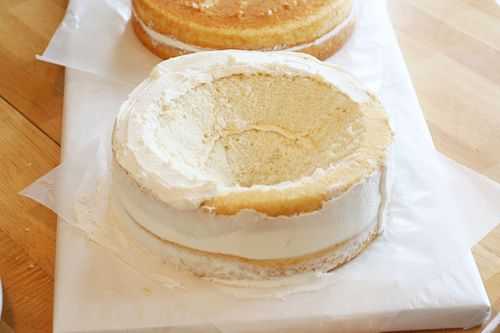
Carve out a V shape in the cake.

The top half of the heart is a little trickier. This time, I started with my knife in the center of the cake and created this little island.
I then moved back out to my "guide line" and started cutting. I ended up creating this channel. Once this has been created, you can go back in a do some more carving to create more detail.
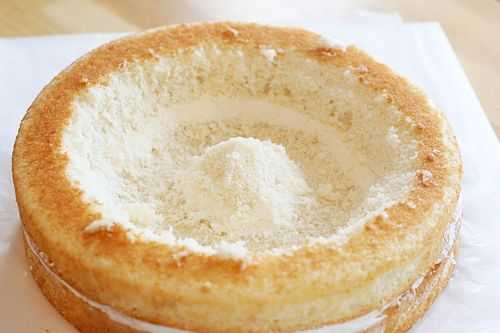
Here is after I went in with a spoon and carved out a bit more.
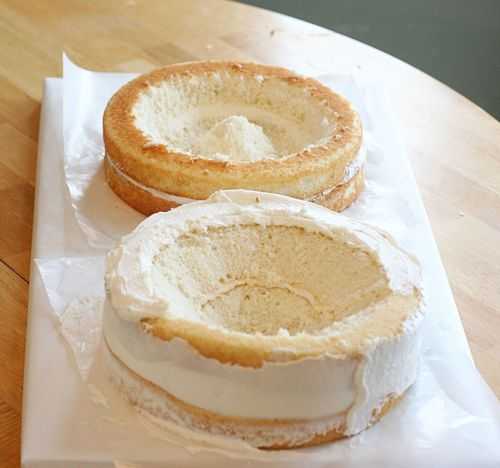
The two cakes carved out. The hard part is pretty much done now!
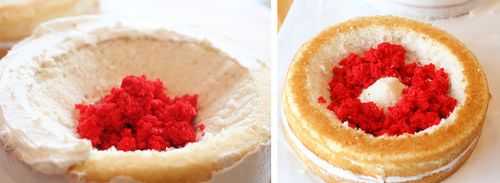
Now I can start filling in the cakes with the red velvet cake.
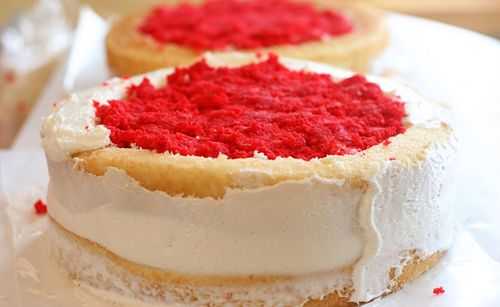
All filled! At this point I put it in my freezer for about 15 minutes. Just to let them set.
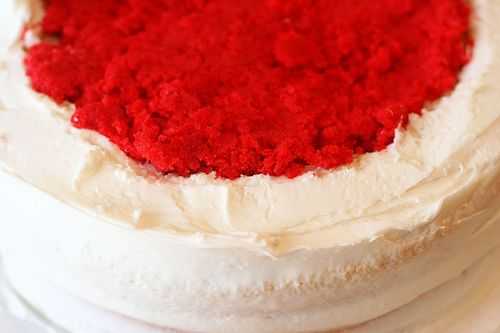
I added some frosting the the edge of the bottom cake. Make sure you know which is which! You are going to want to add the cake with the hallowed out 'channel' to the top of the V cake.

Here goes nothin! I have found the easiest way to do this is to just use your hand. Place it flat over the top of the 'channel' cake and flip it over. Then gently place it one the bottom cake.
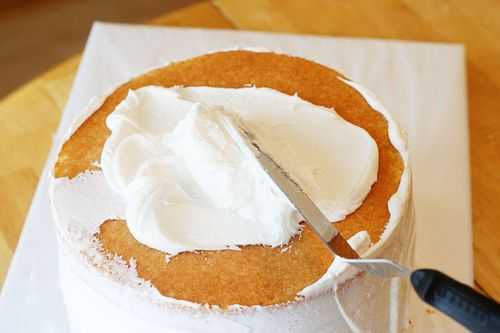
Add some more frosting and do a rough crumb coat over the whole cake.
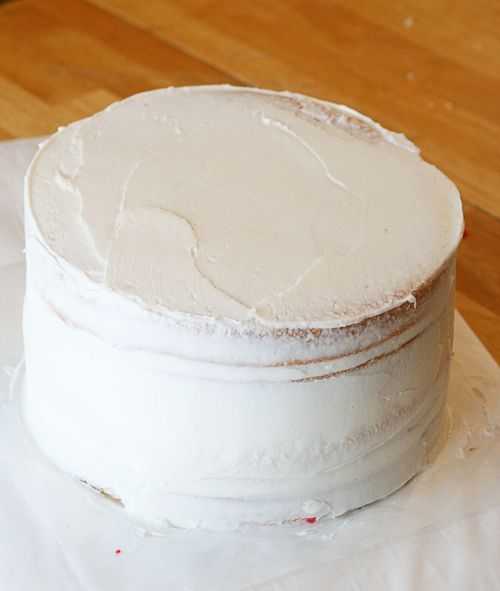
~My feveret customer request utk buat cake ni.. n i plan utk buat cake ni jugak utk birthday Muhamad Fudhail Sani this coming sunday... good luck mama hahahaha~
tutorial copy from imbaker :)
~Mama With Love~
Fara Othman


No comments:
Post a Comment